Poll with ResponsePads
Launch OMBEA Response 360
Windows users
Double-click on the OMBEA Response 360 icon. This will either be on your desktop or in your start menu in a folder called OMBEA Response.
Mac users
Single-click on the OMBEA Response 360 icon on your Dock. Alternativey, double-click on the OMBEA Response 360 icon in your Applications folder.
Connect your ResponseLink Receiver
Background
Your ResponsePads communicate with your presentations via the ResponseLink receiver. The ResponseLink and ResponsePads can be programmed to different channels in order to avoid conflicts but by default they come from the factory already paired up.
Connect your ResponseLink Receiver
- Connect your ResponseLink receiver to a spare USB port on your computer.
- If you are using Microsoft Windows, your computer will automatically install the drivers, keeping you informed of progress.
Launch Polling
OMBEA Response 360 includes a simple question window which means you don’t need a separate presentation if you don’t wish to prepare one.
- Click Launch on the bottom right corner of the Response 360 Control Panel.
- The Control Panel will disappear and be replaced by the Polling window. Your first question will appear in the central section of this window, with the Response counter beneath it.
- Bring up the OMBEA question window by pressing CMD+3 on the Mac. This option is also available from OMBEA Response 360’s Window menu.
- When you are ready to poll your audience, hit the Play button on OMBEA’s Polling Window and invite your audience to vote using their ResponsePads or ResponseApp devices. Your question and answer options will still be visible, and the Response 360 Polling Window will be laid over it. As the votes come in, the Response Counter* will rise to indicate the votes coming in.

- When you are satisfied that you have enough votes, close polling by pressing the Stop button on the Polling Window.
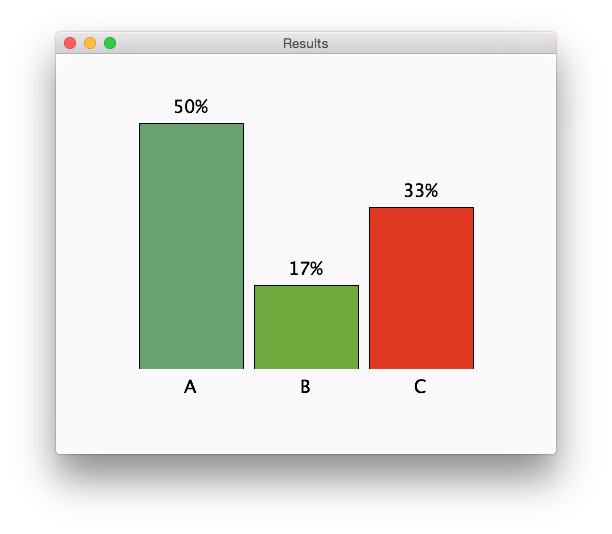
- OMBEA’s Results Window will appear with a chart summarising the votes. If it does not, bring it up by pressing the Chart button on the Polling Window. You can resize and reposition the chart window as appropriate.
- When you are ready to poll the next question, repeat steps 6 - 8 above. Response 360 will automatically use the next question from your list. If you wish to choose a different question within the Polling Window, simply click on the question in the centre of the window to bring up a list of the questions from your list.
- When you have finished presenting, remember to save your data. With OMBEA Response 360 simply save your session from the File menu or the Save button on the Response 360 Control Panel. Your presentation will be saved an an ‘ORTS’ file containing both the question list and the voting data. To learn more about saving data and OMBEA’s file types, click here.
OMBEA Response 360’s chart window is transparent which means it can sit atop another presentation tool and appear to work seamlessly. You’ll find a detailed guide here.